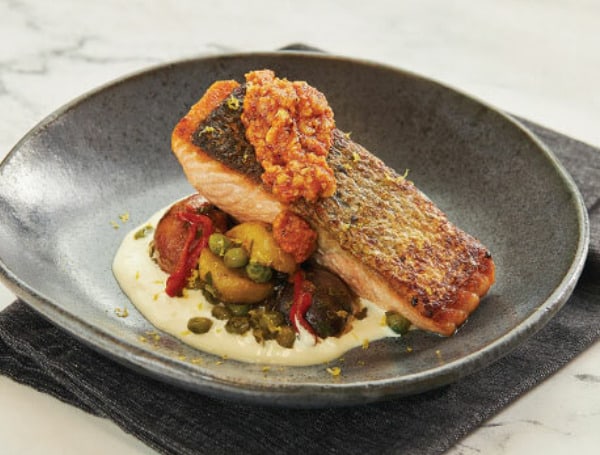
If you love food and photography, you’re in luck. Food photography is no longer just something you find on Instagram. It’s become an art form that requires a keen eye and creative flair.
In fact, social media makes it possible to highlight your own food styling skills and even possibly get hired as a food photographer.
All you need is a strong portfolio and the skills to back it up. So, if you’re ready to take your career to the next level, here’s how you can transform your passion for food into a career.
Learn Photography Basics
Anyone can take a picture, however, shooting food editorials for a magazine or for your own portfolio requires precision and skill. It’s not as simple as pressing a button; you need to know how to angle the camera, what the best aperture is and how you’re going to present the meal in question. The best place to learn the fundamentals of photography is college. More specifically, you want to aim for a Bachelor of Fine Arts degree. Alternatively, you can also choose a Bachelor of Photography Science. Both can teach you everything you need to be a master photographer but bear in mind that the coursework will differ.
Either way, you may be feeling a bit hesitant to attend college because of how much it can cost you. The average tuition cost of a bachelor’s in fine arts is about $42,000. If you want to acquire a BA in photography science, then you can expect to pay as much as $18,000 per year. However, you don’t necessarily have to pay anything. There are Going Merry scholarships for college you can choose from. Scholarships can let you attend college for basically no cost; the only payment you need is to succeed in your coursework. One thing to note, though, not every scholarship works the same. There may be options that only help pay for around half of the tuition costs. Make sure to explore each option before coming to a final decision.
Buy the Right Equipment
If you’re serious about becoming food photographer, you also need have the right type of equipment. First and foremost, you need to invest in a high-quality camera. While an iPhone is equipped to capture photos just as well, you still need a camera that offers higher resolution settings and distinct lens options. You should also invest in backdrops, different tripods, color correction cards, and a computer where you can upload your photos for final editing.
On the topic of editing, you also need to invest in editing software. Adobe offers plenty of options, so you can start off with the basic editing package and upgrade when needed. Props are another key element you’ll have to think about. Each dish or beverage will have a different theme, so you’ll need props to tell its story. If you’re working for a brand that offers summertime beverages, naturally you’d need props that set the stage. That would include glasses that are reminiscent of summer, and make people want to have that drink in their hand.
Refine Your Craft
Once you learn the basics, it’s time to put those skills into action. Design different shoots and practice taking pictures in a variety of settings. You could shoot in the morning, outside, and at night where you can perfect lighting your photos.
It’s also important to use variety of different beverages and food to build your portfolio. Employers want to see that you can shoot in multiple ways without detracting from the overall quality. Once you find your strong points, you can then market those shots in your portfolio. To make images smaller now and optimize them for your culinary journey, explore tools like Adobe Express for easy resizing.
Tell the Dish’s Story
In addition to perfecting the lighting, composition, and overall style, you need to know how to tell your dish’s story. To get started you should need to shoot your ingredients before you put them together. Viewers want to see what goes into a dish as well as the step-by-step visuals of the finished product. You also need to take photos at different heights as well. Telling a food isn’t only about flat lays. You want your pictures to make people feel something when they see them, so add dimension by either boosting the ingredients higher or placing them lower at different angles in a flat lay. You can also use props to fill in the white space as well.
Android Users, Click Here To Download The Free Press App And Never Miss A Story. Follow Us On Facebook Here Or Twitter Here. Signup for our free newsletter by clicking here.

